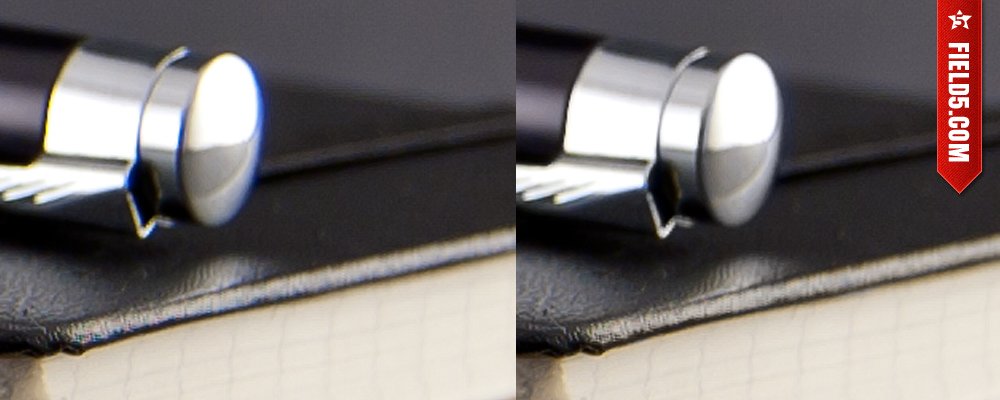
How to get rid off purple fringing
This dreadful purple fringe and her evil sisters yellow, green and red! They really get on my nerves while processing digital images i’ve shoot. Basicaly because I don’t have kick ass PRO camera, and at the time I bought my sweet Nikon D40 the one thing I knew about lenses was that if they give two in the price of one, I should buy it.
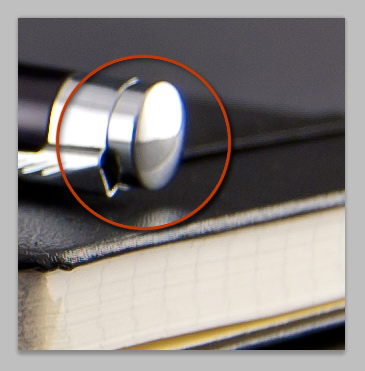
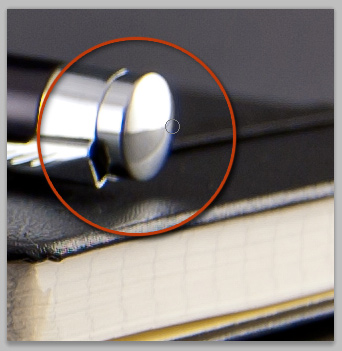
If you want to know the exact definition of purple fringing or should I say Chromatic aberration, wikipedia will do the job :-) Here is my simple understanding of it: Chromatic aberration appears in the high contrast area of the digital image. Having older or weaker lenses is the most common reason too.
That’s it, in the matter of definition, Let’s get to work and get rid of that damn thing already:-)
There are few ways to get rid of purple fringing, the obvious one is to buy better lenses, but sometimes it’s not usefull, especially with pictures that are already taken:-) (ehe ehehehe, Yes! I’m that funny)
You can also do it using Camera RAW or Lightroom software which have chromatic aberration correction module build in, or use filters in photoshop. I’m not saying they are not good solutions, I just sometimes find it hard to set up right. But finally, while reading the awesome book Taking Stock by Rob Sylvan, I encountered the solution which is both easy and effective. And most of all, it only affect the purple fringe, and leaves the photo intact.
Rob describes step by step how to remove purple fringe from the picture using Photoshop Elements, that is why the instructions are not that clear in my opinion. Therefore based on his idea I present easy way to remove purple fringe in photoshop.
Open your photo in photoshop
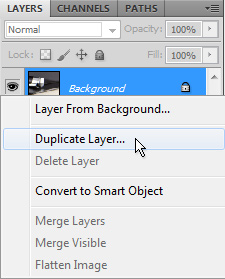
In Layers tab right click the background layer and choose „duplicate layer” or simply hit Ctrl+J on PC or Cmd+j on Mac.
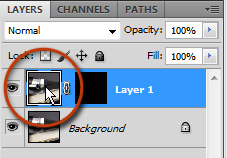
Having selected copied layer click „add vector mask” icon at the bottom of Layers tab
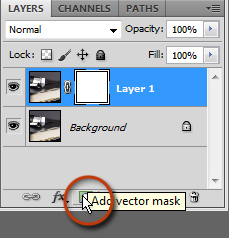
and hit Ctrl+Backspace on PC or Cmd+Backspace on Mac to fill the mask with black, or just do it manually if you prefer. Your masked layer should look like on the image below.

Click layer thumbnail to select it
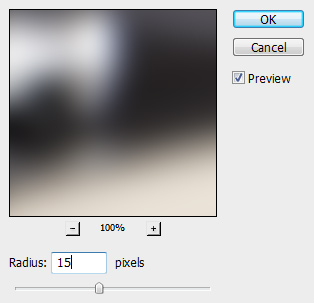
and than select from menu Filter » Blur » Gaussian Blur, the 15 to 25px blur should work just fine, I use 15px for most of the time.
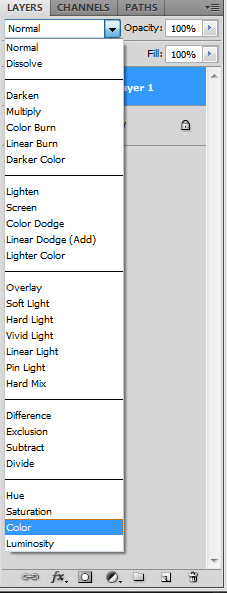
Change the blending mode of your layer to Color
Select back your vector mask by clicking on it and than hit the B on your keyboard or just choose Brush tool from tools tab. Make sure you choose the smooth round brush, in this case 15px size is fine, but at the end of the day it’s always up to you:-)
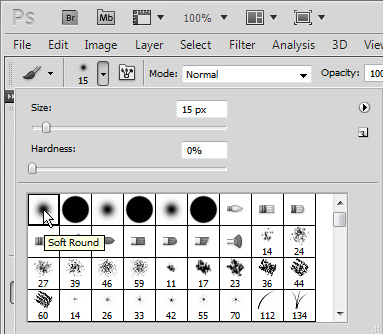
Start painting over the purple fringe, and if you did everything what i’ve said you should se it disappearing:-)
Next: Save, Close and burn it in your memory:-)
If you are curious about the photo used in this tutorial, here is where you can see it and even buy it! Without the chromatic aberration ofcourse:-)
Do you know some different, easy sollution for removing chromatic aberration? Share your ideas in comments :-)